How to Make a Bell for Wake Up Day! 🔔

When spring begins to spring, the Hazel Village animals play their noisiest instruments to wake up their hibernating friends. They sing, just as loud as can be: “WAKE UP! WAKE UP! TIME TO WAKE UP!”
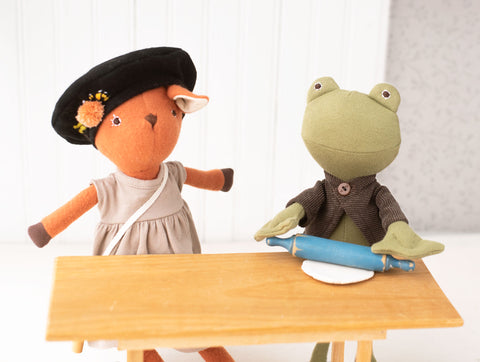
As the Village Orchestra conductor, Phoebe Fawn likes to take the lead for any musical extravaganzas the animals put on. Today she decided that her friends could use a new instrument for their band: a bell! Phoebe knew just which animal to ask for help with this project: the Village’s resident potter, Lewis Toad. See how they did it!

What you will need:
- Clay
- Rolling pin
- Something for poking holes, like a needle or a skewer
- Some string, yarn or embroidery floss
- Paint and brushes for decorating
- A broom handle or similar item with a rounded top to use as a mold (we used a lint roller handle with the holes taped over.)
Lewis prefers to gather his clay directly from the muddy banks of the Village stream, but we recommend that you use any kind of kid’s craft clay. We opted for air-dry so we wouldn’t have to get an oven involved. The clay we used was a bit old and stiff, so we dipped our fingers in water and kneaded it for a few minutes to get it nice and soft. We advise following the instructions on your clay’s package.

When your clay is workable, roll it into a ball between your palms. Then place it on a flat surface and roll it out with your rolling pin.

Take your clay circle and drape it over your handle mold. Gently squish the clay down around the handle, using water on your fingertips to help blend it together. You will probably have some lumps and bumps, but Lewis says there’s nothing wrong with a lumpy-bumpy bell.

When you’ve formed the clay into a dome shape, gently wiggle the mold out. You can go over the rim and the inside of the bell with your fingertip and more water to smooth it out if you want.

Make a smaller ball of clay to be the clapper (the part that swings inside the bell). Take your poking device (we used an embroidery needle) and poke a hole through the clapper ball, then another through the top of the bell. Make sure the holes are big enough for your string. Lewis decided he wanted to add a small decorative bead on top of his bell, so he made a tiny ball and poked a hole in that too. Phoebe thought this was a nice idea, and did the same.
Phoebe and Lewis set their bell pieces on a shelf to dry. It took a few hours, so while they were waiting Phoebe showed Lewis a new song she’s been practicing on her pan flute. When the pieces were dry, it was time to decorate!

Phoebe appreciates a classically beautiful instrument, so the friends decided to keep their bells traditional and paint them gold. Lewis thinks he might get a little more creative next time, but the gold is nice too. After the paint dried, the bells were finally ready to assemble.

Tie a knot at one end of your string, then thread your clapper bead up to the knot. Tie another knot to keep the clapper in place. Then tie a big knot higher up on the string - the placement will depend on how high or low you want your clapper to hang inside the bell. We tied a knot about 3/4 inch above the bead.

Thread the string through the hole in the top of your bell, and add the little decorative bead if you made one. Then tie a nice big tight knot to keep it snugly in place.

Finally, make a loop handle and tie another knot, then cut the excess string. You’re done!


Since these bells are clay they don't exactly tinkle the way a jingle bell might, but they make a pleasant clattering sound that Phoebe says is just as nice. Phoebe and Lewis decided to give this set of bells to the animal they know who most appreciates trinkets: Max Raccoon.

Max was delighted. "Now I can make lots of noise!" he rejoiced.
![]()
Did you make this craft at home? Send us a photo or tag us on social media @hazelvillage! For any questions, please email us at hello@hazelvillage.com.
You might also like:
The Animals Celebrate Wake Up Day Art Print